
The mounting height of stage lighting fixtures is one of the most important factors in achieving professional lighting results. Whether you’re designing a lighting system for a theatre, concert venue, church, television studio, school auditorium, conference center, or outdoor festival, the height at which fixtures are installed directly affects coverage, beam angles, brightness, audience comfort, and overall visual impact.
There is no single mounting height that works for every venue. The ideal height depends on the size of the space, ceiling or truss height, fixture type, beam angle, stage dimensions, and the purpose of the lighting.
In this guide, we’ll explain the recommended mounting heights for different venues, how fixture placement affects performance, and the key safety considerations every installer should follow.
Why Mounting Height Matters
Correct fixture placement helps create balanced, professional lighting while avoiding unwanted shadows and glare.
Proper mounting height improves:
- Stage coverage
- Beam uniformity
- Performer visibility
- Audience comfort
- Color consistency
- Lighting flexibility
- Fixture safety
- Overall production quality
Incorrect mounting height can create uneven illumination, harsh shadows, and wasted light.
Factors That Determine Mounting Height
Several factors influence the ideal installation height.
These include:
- Ceiling height
- Truss height
- Stage size
- Fixture type
- Beam angle
- Throw distance
- Audience seating
- Venue architecture
- Rigging options
Every lighting design should consider these factors before installation begins.
Recommended Mounting Heights by Venue
Although every project is unique, the following guidelines are commonly used in professional installations.
| Venue Type | Typical Mounting Height |
|---|---|
| Small meeting rooms | 3–5 m (10–16 ft) |
| School auditoriums | 5–7 m (16–23 ft) |
| Churches | 6–10 m (20–33 ft) |
| Small theatres | 6–8 m (20–26 ft) |
| Large theatres | 8–12 m (26–39 ft) |
| Television studios | 4–8 m (13–26 ft) |
| Concert venues | 8–15 m (26–49 ft) |
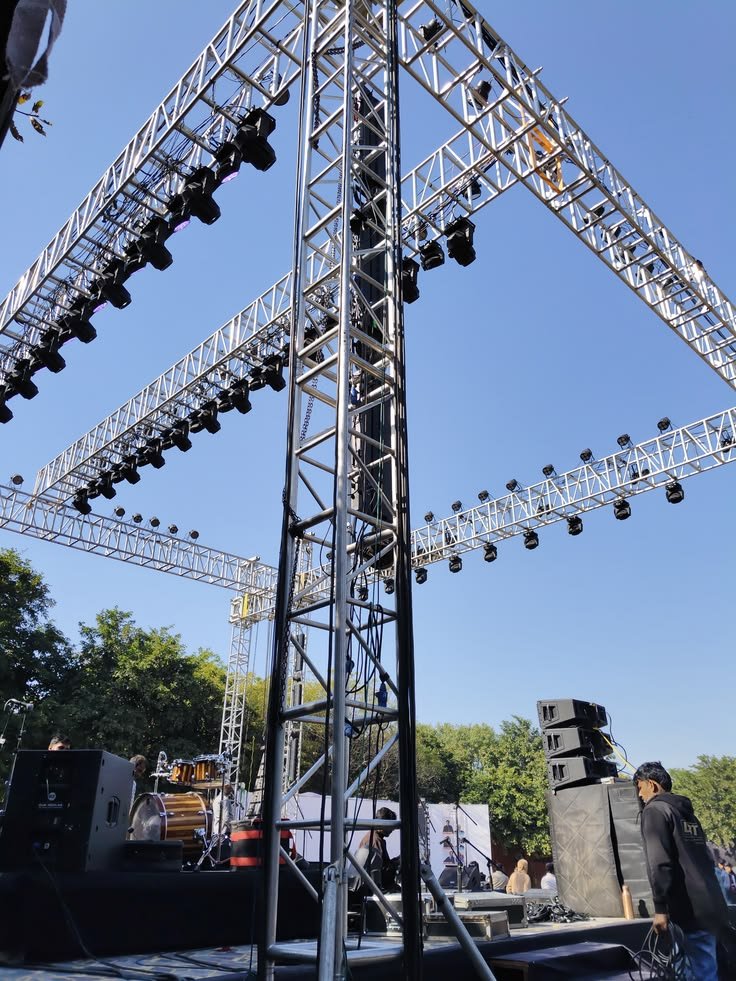
| Outdoor festival stages | 10–20 m (33–66 ft) |
These values serve as starting points. Final mounting heights should always be based on a professional lighting design and the venue’s structural limitations.
Front Lighting Height
Front lighting is typically mounted in front of the stage to illuminate performers’ faces.
Best practices include:
- Position fixtures at an angle of 30–45 degrees above the performers.
- Avoid placing fixtures too low, as this creates harsh facial shadows.
- Avoid mounting them directly overhead, which can produce “raccoon eyes” by casting deep shadows into eye sockets.
A properly angled front light provides natural-looking facial illumination.
Back Lighting Height
Back lighting separates performers from the background and adds depth to the stage.
Recommended guidelines:
- Mount fixtures higher than front lights.
- Aim beams downward at approximately 45–60 degrees.
- Ensure sufficient clearance above performers.
Higher backlight positions create dramatic outlines without shining directly into the audience.
Side Lighting Height
Side lighting enhances movement and highlights body shape, making it especially popular for dance performances.
Typical placement includes:
- Low side positions near floor level.
- Mid-level positions.
- High side positions mounted on booms or vertical trusses.
Using multiple heights allows designers to create depth and sculpt performers from different angles.
Overhead Lighting Height
Overhead fixtures provide general stage illumination and special effects.
Installation considerations include:
- Even spacing across the stage.
- Adequate beam overlap.
- Clearance for moving fixtures.
- Access for maintenance.
The exact height depends on ceiling or truss availability and the required beam spread.
Moving Head Fixtures
Moving head lights require additional clearance because they rotate during operation.
Allow enough space for:
- Full pan movement
- Full tilt movement
- Zoom operation
- Focus adjustments
- Maintenance access
Avoid mounting fixtures so close together that moving heads can collide.
Beam Angle and Throw Distance
Mounting height works together with beam angle to determine stage coverage.
- Narrow beams project farther and are suitable for high mounting positions.
- Wide beams cover larger areas at shorter distances and are ideal for lower mounting heights.
Selecting the correct beam angle helps achieve even illumination without excessive fixture count.
Avoid Audience Glare
Poor fixture placement can cause discomfort for the audience.
To minimize glare:
- Aim fixtures carefully.
- Use shutters or barn doors where applicable.
- Avoid pointing beams directly into seating areas.
- Test sightlines from multiple audience positions.
Reducing glare improves the viewing experience while maintaining lighting effectiveness.
Consider Maintenance Access
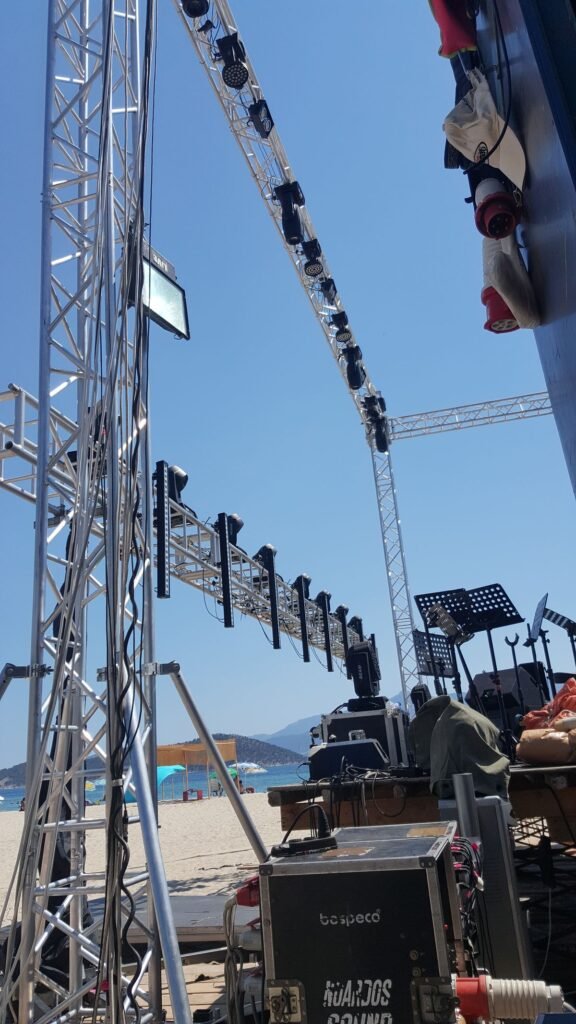
Fixtures should be mounted where they can be safely serviced.
Ensure there is adequate access for:
- Cleaning lenses
- Replacing components
- Firmware updates
- Safety inspections
- Repositioning fixtures
Permanent installations should include safe access systems such as catwalks, service platforms, or approved lifting equipment.
Rigging Safety
Regardless of mounting height, every fixture must be installed safely.
Follow these practices:
- Use certified clamps and couplers.
- Install independent safety cables.
- Verify Working Load Limits (WLL).
- Inspect trusses and mounting hardware.
- Secure all fasteners.
- Perform routine safety inspections.
Safety should never be compromised to achieve a particular lighting angle.
Common Mounting Mistakes
Avoid these common errors:
- Mounting fixtures too low, creating harsh shadows.
- Installing lights too high for the available beam angle.
- Ignoring fixture overlap, resulting in dark areas.
- Positioning moving heads without sufficient clearance.
- Aiming fixtures directly into the audience.
- Overloading trusses or mounting structures.
- Blocking ventilation around fixtures.
Careful planning prevents costly adjustments later.
Frequently Asked Questions
Is there a standard height for mounting stage lights?
No. The ideal height depends on the venue, stage size, fixture type, beam angle, and lighting objectives. Professional lighting designs are typically customized for each installation.
What is the best angle for front lighting?
A front lighting angle of 30–45 degrees above performers generally provides natural facial illumination while minimizing harsh shadows.
Can stage lights be mounted too high?
Yes. Excessive mounting height can reduce brightness on stage, increase light spill, and require more powerful fixtures or narrower beam angles to achieve adequate coverage.
How much clearance do moving head lights need?
Moving head fixtures require enough space for unrestricted pan and tilt movement, along with room for maintenance access. Always follow the manufacturer’s clearance recommendations.
Does mounting height affect brightness?
Yes. As the distance between the fixture and the stage increases, light intensity decreases. Higher mounting positions often require fixtures with greater output or more focused beam angles to maintain sufficient illumination.
Conclusion
Choosing the correct mounting height is essential for creating safe, effective, and visually impressive stage lighting. By considering venue size, ceiling height, beam angle, throw distance, fixture type, and maintenance access, installers can achieve even coverage, reduce glare, and maximize the performance of every lighting system.
Whether you’re installing lighting in a theatre, concert venue, church, television studio, school auditorium, or outdoor festival, combining proper mounting heights with safe rigging practices will ensure reliable operation and exceptional lighting results for every performance.