
Installing a professional stage lighting system requires careful planning, the right equipment, and strict attention to safety. Whether you’re setting up lighting for a theater, church, concert venue, school auditorium, television studio, conference hall, or event space, a well-installed lighting system ensures reliable performance, better audience experiences, and easier operation.
A poorly installed lighting system can lead to uneven coverage, equipment failure, safety hazards, and unnecessary maintenance costs. By following a structured installation process, you can build a lighting system that performs efficiently for years.
In this guide, we’ll walk you through the complete process of installing professional stage lighting step by step.
Why Proper Installation Is Important
Professional stage lighting is more than simply hanging fixtures above a stage.
A properly installed system provides:
- Even stage coverage
- Reliable lighting control
- Safe electrical operation
- Easier maintenance
- Better production quality
- Room for future expansion
Taking time to plan the installation helps avoid costly mistakes later.
Step 1: Evaluate Your Venue
Before purchasing or installing any lighting equipment, carefully assess the venue.
Consider:
- Stage width
- Stage depth
- Ceiling height
- Audience seating
- Power availability
- Rigging points
- Indoor or outdoor installation
Each venue has different lighting requirements.
For example, a church stage requires different lighting than a concert venue or television studio.
Step 2: Define Your Lighting Goals
Determine how the lighting system will be used.
Common applications include:
- Theater productions
- Live concerts
- Worship services
- Corporate events
- Conferences
- Broadcast studios
- Live streaming
Your goals will determine the types of fixtures you need.
Step 3: Create a Lighting Layout
A lighting plan should identify where every fixture will be installed.
Typical lighting positions include:
Front Lighting
Provides visibility and natural facial illumination.
Side Lighting
Adds depth and highlights movement.
Back Lighting
Separates performers from the background.
Overhead Lighting
Creates even coverage across the stage.
Planning fixture positions before installation improves overall lighting quality.
Step 4: Select the Right Lighting Fixtures
Most professional installations use a combination of fixture types.
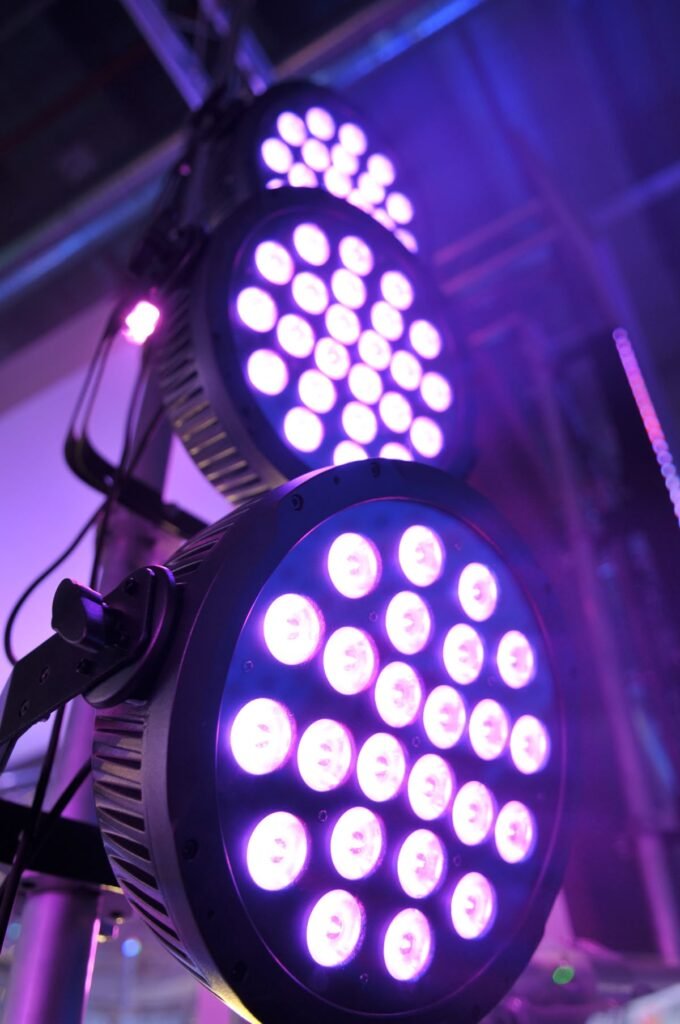
LED PAR Lights
Ideal for:
- Stage washes
- Background lighting
- General illumination
Moving Head Lights
Suitable for:
- Dynamic lighting effects
- Concerts
- Live entertainment
Profile Spotlights
Best for:
- Speaker highlighting
- Theater productions
- Precision lighting
Flat Panel Lights
Recommended for:
- Broadcast studios
- Live streaming
- Video production
Selecting the right combination of fixtures provides maximum flexibility.
Step 5: Install the Rigging System
Lighting fixtures must be mounted securely.
Common mounting options include:
- Lighting trusses
- Pipe grids
- Lighting bars
- Ceiling-mounted systems
Always use:
- Certified clamps
- Safety cables
- Approved rigging hardware
Improper mounting can create serious safety hazards.
Step 6: Install Lighting Fixtures
Mount fixtures according to your lighting plan.
During installation:
- Maintain even spacing
- Aim fixtures correctly
- Secure all clamps
- Attach safety cables
- Verify fixture balance
Avoid overcrowding fixtures, as this can complicate maintenance and reduce airflow.
Step 7: Plan Power Distribution
Professional lighting systems require adequate electrical planning.
Consider:
- Circuit capacity
- Power distribution boxes
- Cable routing
- Load balancing
Never overload electrical circuits.
Consult qualified electricians for large installations.
Step 8: Connect the DMX Control System
Most professional lighting systems use DMX512 for communication.
Installation typically includes:
- DMX controller
- DMX cables
- Splitters (if required)
- DMX terminator at the end of the signal chain
Assign unique DMX addresses to every fixture to ensure accurate control.
Step 9: Organize and Secure Cables
Proper cable management improves both safety and maintenance.
Best practices include:
- Route cables neatly
- Separate power and DMX cables where possible
- Label every cable
- Secure loose wiring
- Protect walkways from trip hazards
A clean installation is easier to troubleshoot and maintain.
Step 10: Configure and Program the System
After installation, configure the lighting system.
Tasks include:
- Assign fixture addresses
- Create fixture groups
- Program lighting scenes
- Test movement
- Verify color control
- Save lighting presets
Programming allows operators to control the system efficiently during events.
Step 11: Test Every Fixture
Before putting the system into service, test every component.
Check:
- Brightness
- Color mixing
- Pan and tilt movement
- Beam focus
- DMX communication
- Fixture response
Resolve any issues before the venue begins operation.
Step 12: Perform a Safety Inspection
A final inspection helps ensure long-term reliability.
Verify:
- All fixtures are securely mounted
- Safety cables are installed
- Electrical connections are secure
- DMX communication is stable
- No cables create trip hazards
- Emergency access remains clear
Routine inspections should continue after installation.
Common Installation Mistakes to Avoid
Skipping the Planning Stage
Poor planning often leads to uneven lighting coverage and unnecessary equipment purchases.
Using Too Few Fixtures
Insufficient coverage limits lighting flexibility.
Ignoring Future Expansion
Leave room for additional fixtures and DMX capacity.
Poor Cable Management
Disorganized cables increase maintenance time and safety risks.
Improper Rigging
Always use professional mounting hardware and safety cables.
Recommended Installation Checklist
Before completing the project, confirm:
- Venue measurements completed
- Lighting layout finalized
- Fixtures installed securely
- Rigging inspected
- Power distribution verified
- DMX addresses assigned
- Lighting scenes programmed
- Cable management completed
- Safety inspection performed
- System fully tested
Following a checklist helps ensure a professional installation.
Frequently Asked Questions
How long does it take to install a professional stage lighting system?
Installation time depends on the size and complexity of the venue. Small installations may take one day, while larger projects can require several days or weeks.
What is the first step when installing stage lighting?
Begin by evaluating the venue, measuring the stage, and determining your lighting requirements.
Can I install stage lighting without DMX?
Basic lighting systems can operate without DMX, but professional installations benefit from centralized control, automation, and scene programming.
Why are safety cables required?
Safety cables provide a secondary attachment point, helping prevent fixtures from falling if the primary clamp fails.
Should I hire professionals for installation?
For permanent installations, large venues, or complex systems, professional installation is strongly recommended to ensure safety, compliance, and reliable performance.
Conclusion
Installing professional stage lighting involves much more than mounting fixtures above a stage. A successful installation requires careful planning, proper fixture selection, secure rigging, reliable electrical infrastructure, organized DMX control, and thorough testing.
By following a structured installation process, venue owners and production teams can create safe, flexible, and high-performing lighting systems that deliver exceptional results for concerts, theaters, churches, studios, conferences, and live events for many years.